Parda yaqni pulao
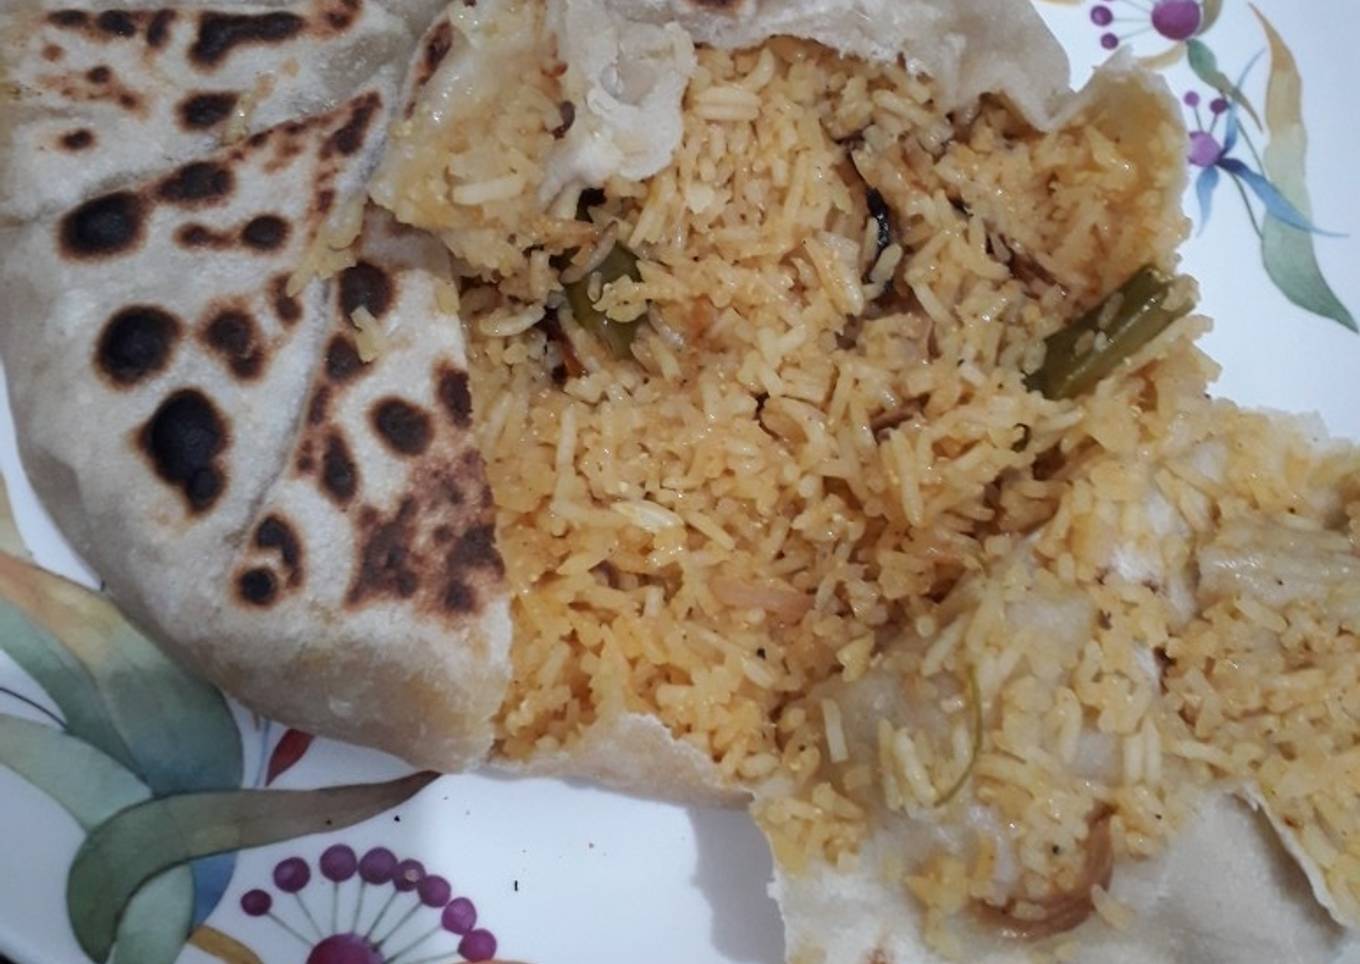
Hello everybody, I hope you are having an incredible day today. Today, I will show you a way to prepare a special dish, Parda yaqni pulao. One of my favorites food recipes. This time, I will make it a little bit tasty. This is gonna smell and look delicious.
Parda yaqni pulao is one of the most well liked of recent trending foods on earth. It's enjoyed by millions every day. It is simple, it's quick, it tastes yummy. Parda yaqni pulao is something which I have loved my whole life. They're fine and they look wonderful.
Many things affect the quality of taste from Parda yaqni pulao, starting from the type of ingredients, then the selection of fresh ingredients, the ability to cut dishes to how to make and serve them. Don't worry if you want to prepare Parda yaqni pulao delicious at home, because if you already know the trick then this dish can be used as an extraordinary special treat.
To get started with this recipe, we have to prepare a few components. You can cook Parda yaqni pulao using 17 ingredients and 9 steps. Here is how you can achieve it.
Ingredients and spices that need to be Prepare to make Parda yaqni pulao:
- 1 tsp fennel seeds
- 1 tsp coriander seeds
- 1 tsp cumin seeds
- 3 cloves
- 3 cardamoms
- 1 cinnamon stick
- 500 gms chicken
- 2 cups rice
- 4 cups water
- 1 cup Curd
- 2 onions
- 1 whole garlic
- Pinch saffron
- 1 Fried onions
- Handful Coriander leaves and mint leaves
- 1/4 tsp Lemon juice
- 1/2 cup Maida flour
Steps to make to make Parda yaqni pulao
- In a pressure cooker add fennel seeds,coriander seeds, whole garlic, 2 chopped onions, pinch of saffron, cloves, cinnamon, cardamom, chicken, salt and add water. Cook it for 2 whistles.
- Remove the chicken from this and mash the other ingredients slightly and strain out the stock and keep aside.
- In another big kadai heat oil and add few sliced onions, green chillies, cloves, cardamom, ginger galic paste. Saute them for sometime. Then add the pressure cooked chicken pieces in it.
- Add salt, red chilli powder, turmeric, garam masala powder, curd and mix well
- Now Add 4 cups of firstly prepared stock, few mint and coriander leaves. When it boils add the soaked rice in it and cook well until the water evaporates. Finally garnish with fried onions and ghee.
- For making the parda make a dough of maida flour and roll it into thin chapathi. Place this chapathi in a pan and it should be longer than the pan so that we can seal the edges easily.
- Dish out the yaqni pulao in this chapathi which is on the pan and seal the edges of the chapathi like a potli. Keep it on high flame for 5 min.
- Take another pan and place it on the first pan and carefully flip the first pan on the second pan so as to remove the parda from the first pan and allow the other side of it to cook for a other 5 min.
- Finally cut the parda in triangle shape and serve the warm yaqni pulao from it.

As your experience and self-confidence expands, you will certainly locate that you have extra all-natural control over your diet and also adjust your diet plan to your personal tastes over time. Whether you wish to offer a dish that makes use of less or more ingredients or is a little bit basically hot, you can make easy adjustments to attain this goal. To put it simply, begin making your dishes on schedule. When it comes to fundamental cooking abilities for novices you do not require to discover them yet just if you master some simple food preparation strategies.
This isn't a full overview to fast and easy lunch recipes yet its great something to chew on. With any luck this will get your creative juices flowing so you can prepare tasty dishes for your family members without doing too many heavy meals on your journey.
So that is going to wrap this up for this exceptional food Recipe of Quick Parda yaqni pulao. Thanks so much for reading. I'm confident you can make this at home. There's gonna be interesting food at home recipes coming up. Don't forget to bookmark this page in your browser, and share it to your loved ones, colleague and friends. Thanks again for reading. Go on get cooking!
Comments
Post a Comment